The microservice architectural pattern is an approach to developing a single application as a suite of small services, each running in its own process and communicating with lightweight mechanisms
- By Martin Fowler
We’ll walk through the code on how to integrate the common features of Spring Boot, and we’ll explain each of them.
In this series of tutorials, we are going cover:
- Introduction and creating our Microservices (Part 1)
- Mongo DB cloud integration (Part 2)
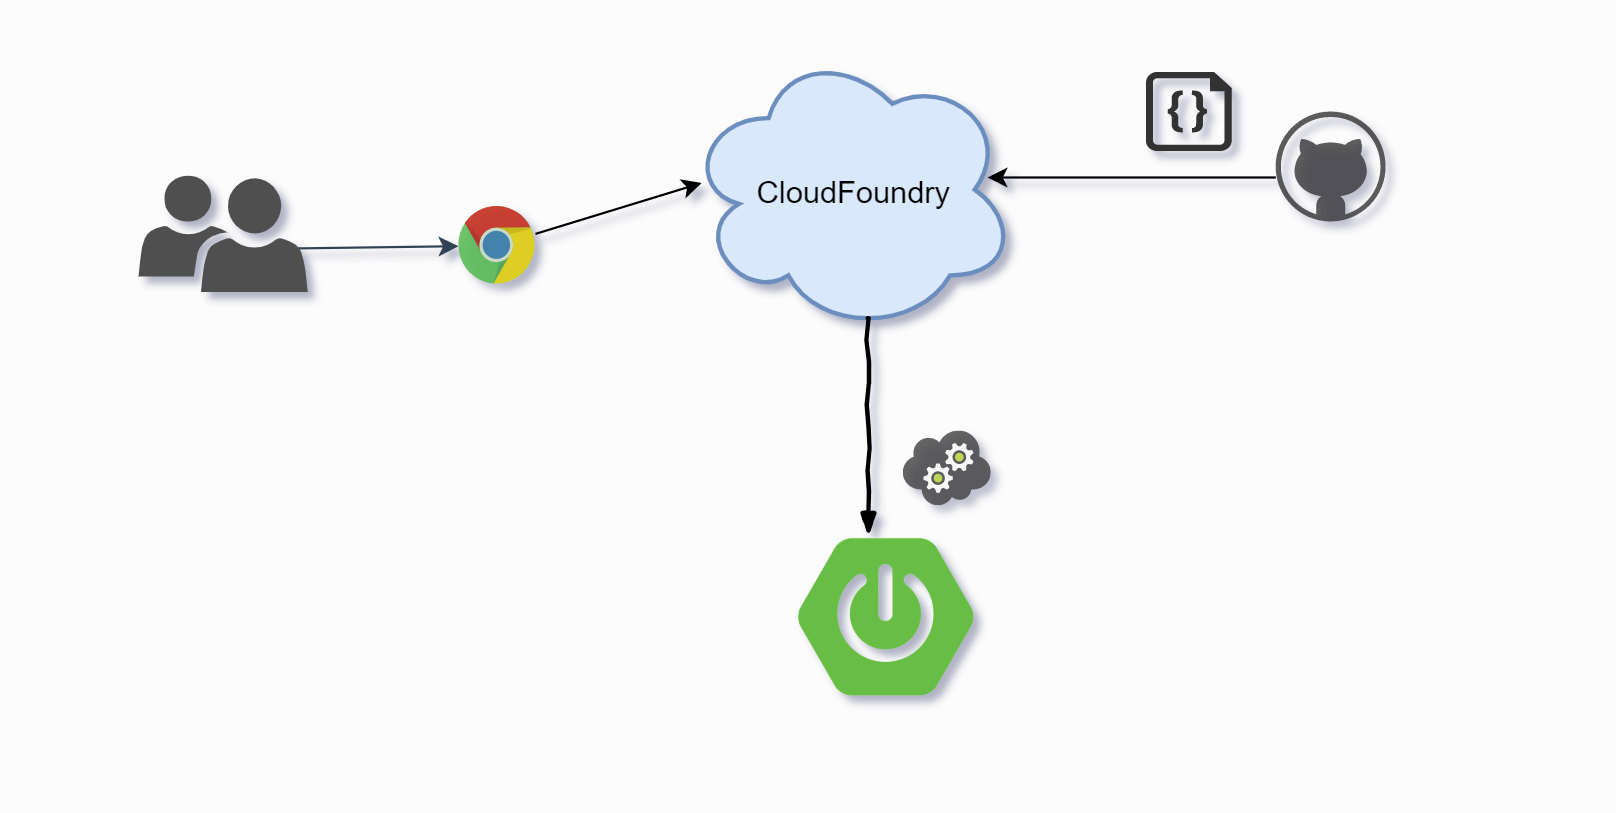
- Deployment to CloudFoundry (Part 3))
- Deployment to AWS (Part 4)
Excited?! So, let’s get started.
This tutorial does not assumes you’re already familiar with the basics of Spring Boot.
What is a Microservice
Microservices accelerate delivery by minimizing communication and coordination between people while reducing the scope and risk of change.
So instead of having one large application, we decompose it into separate, different, mini-applications (services).
Each service handles a specific functionality.
As an example of an ecommercce site , microservice will be split into Auth, orders, customers, payment gateway etc.
Decoupling a microservice
Each microservice should be split to smallest piece that is decoupled from other microservice in responsibility, data and architecture.
The whole idea of microservices is built around the benefit that they can get tested, deployed, and maintained individually.
They can be implemented using different language stacks.
Implementation
Let’s start ,
This is out tech stack and tools:
- Spring Boot(2.2.2)
- JDK 11
- Maven
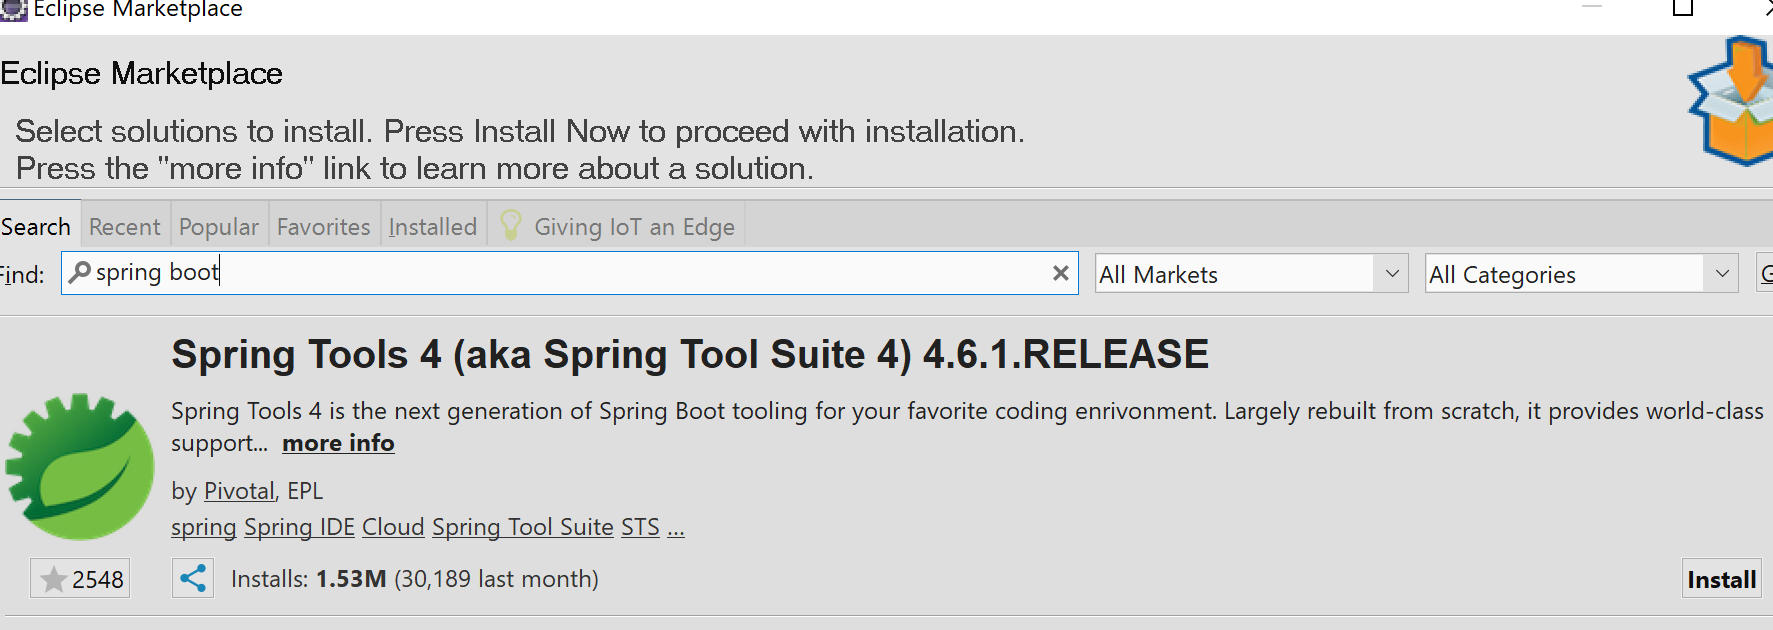
- Eclipse
- Eclipse plugins for spring boot and cloudfoundry.
We will get to each one in a moment.
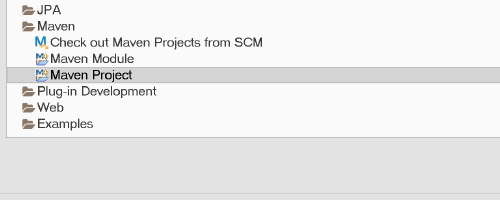
Let’s first create a project in eclipse IDE, you can choose IDE of your preference but for this tutorial the eclipse works best as we would be using a few eclipse plugins.
Create Eclipse Maven Project
Your Maven pom.xml should look like this,
<project>
  <modelVersion>4.0.0</modelVersion>
  <groupId>com.codingfullstack</groupId>
  <artifactId>shoppinglist-springboot-microservice</artifactId>
  <version>0.0.1-SNAPSHOT</version>
  <name>shoppinglist-springboot-microservice</name>
</project>
Now let’s add the spring boot to the project, this is as simple as adding a parent project.
Spring team maintains all the starter projects and dependencies in the
spring-boot-starter-parent
<parent>
		<groupId>org.springframework.boot</groupId>
		<artifactId>spring-boot-starter-parent</artifactId>
		<version>2.2.0.RELEASE</version>
</parent>
The next steps are to add the dependencies we need to build our microservice. We are building a simple shopping list microservice.
We are building rest service, so lets add the spring-boot-starter-web dependency from spring boot project that brings in all web/rest related dependencies in your project.
<dependencies>
	<dependency>
        <groupId>org.springframework.boot</groupId>
        <artifactId>spring-boot-starter-web</artifactId>
    </dependency>
</dependencies>
Let;s create a spring boot application,
@SpringBootApplication
public class Application {

    public static void main(String[] args) {
        SpringApplication.run(Application.class, args);
    }
}
Let’s add a simple rest controller that returns a list on the GET call.
@RestController
@RequestMapping("/")
public class ShoppingListController {

    @GetMapping
    public Iterable<String> getShoopingList() {
        return Arrays.asList("bread", "butter" , "egg" , "chicken");
    }
}
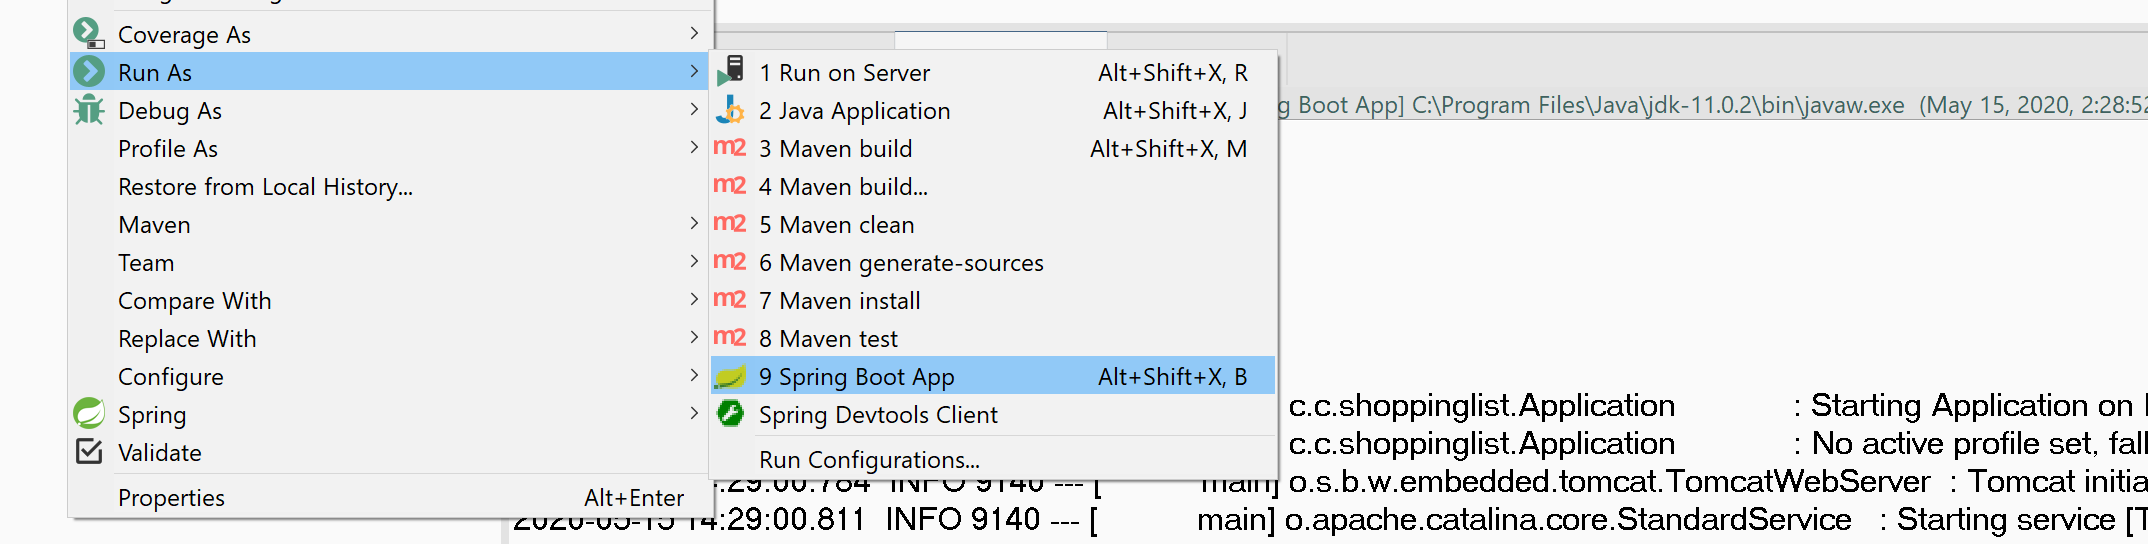
For deploying and testing your spring boot microservices, I recommended using spring tools plugin for eclipse.
Let’s also change the port where spring boot will run, for this we add application.yaml in the src/main/resources
server:
  port: 3024
  servlet:
    context-path: /shopping-list

spring:
  application:
    name: shopping-list-service
Now our simple shopping list service is ready to test,
You should see the logs similar to below,
Tomcat started on port(s): 3024 (http) with context path '/shopping-list'
shoppinglist.Application : Started Application in 4.897 seconds (JVM running for 7.549)
We can test our microservice at,
http://localhost:3024/shopping-list/
You should see the below output in your browser,
["bread","butter","egg","chicken"]
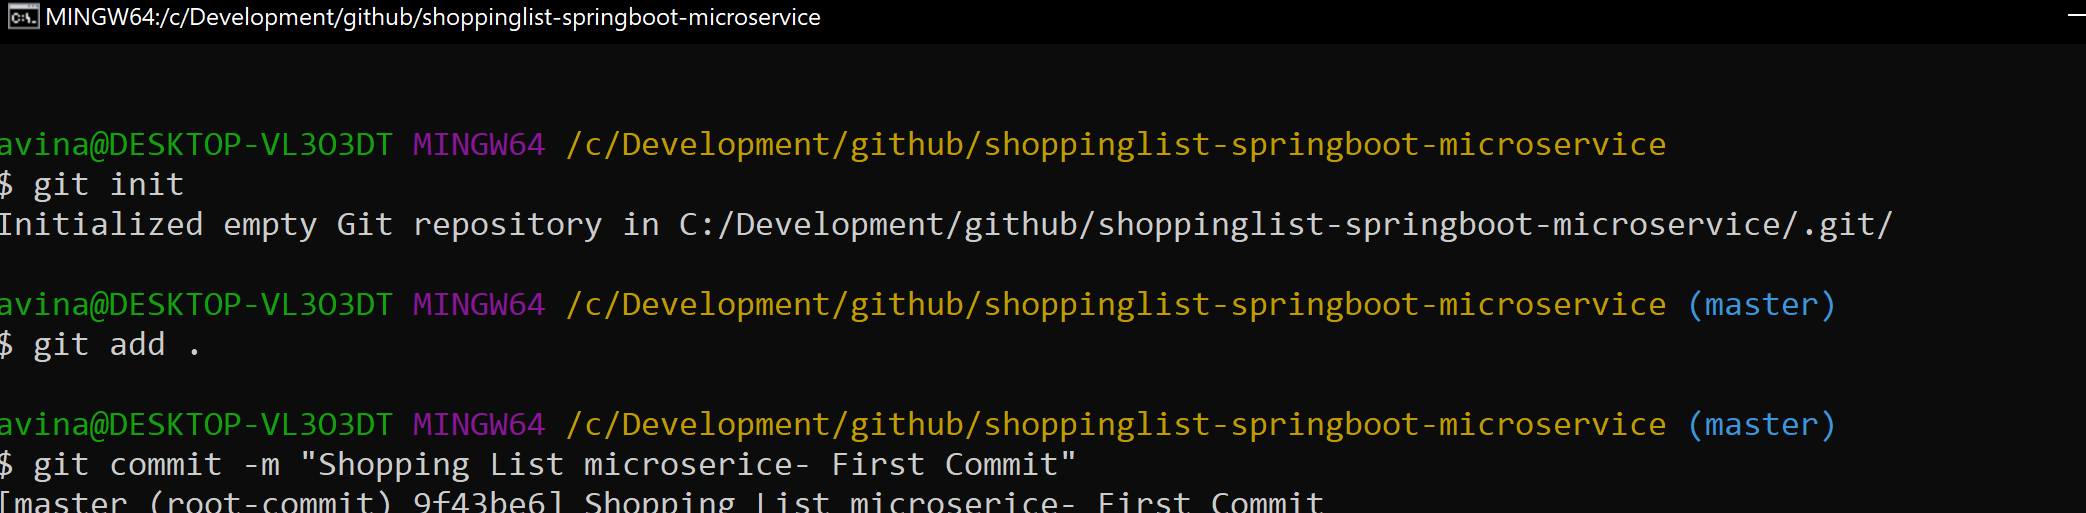
Commit the project to local git,
Create a remote repo in github, avoid adding README, LICENSE, gitignore for errors when pushing to remote repo.
Push changes to remote repo and create tag for this PART1 series

🙌🥂🎉🎉🍺 The GitHub repository for the demo application: https://github.com/avinash10584/shoppinglist-springboot-microservice/
For PART1
https://github.com/avinash10584/shoppinglist-springboot-microservice/tree/PART1